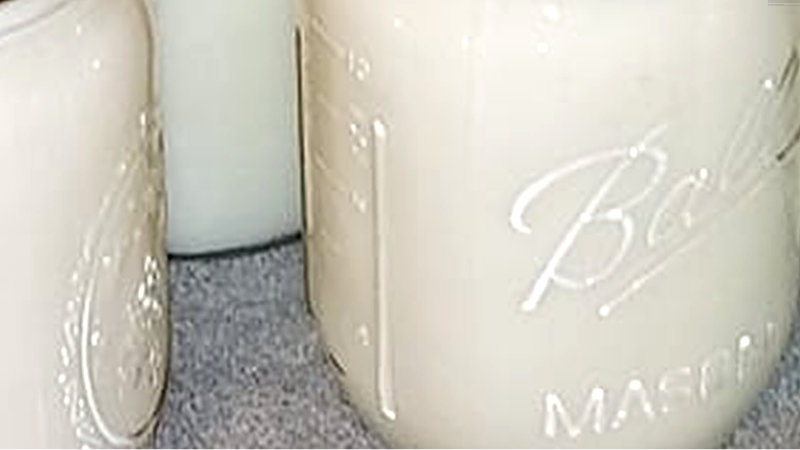
Canning Milk and Dairy Products
Home canning milk, for informational purposes. Read disclaimer below. With that said, many people successfully home can their own milk and dairy products. I received input from two readers here on the blog who would like to share their experience on how to do it yourself… Home canning milk. So, thanks to ‘Lauren’ and ‘Northern Sarge’ for their contribution to the blog…
Pressure Canning Milk and Dairy
written by Modern Survival Blog contributor, ‘Lauren’
Dairy (straight milk) is pasteurized at 161 degrees for 15 seconds, or ultra-pasteurized at 280 for 2 seconds.
A standard pressure canner will maintain a temperature of 240 degrees, and can get up to 280 for short periods. Thus, it is used under “field” conditions to sterilize medical instruments. Even a water bath canner gets up to between 200 and 212 degrees, more than hot enough for pasteurization.
In the past I have canned milk (raw and pasteurized), cream, half-n-half, cheese, cream cheese, butter, ghee and sour cream. Recently I bottled a cheese sauce. Others have bottled cheesecake, cream soups, non-dairy creamers, and many other dairy products. Each should be bottled according to the guidelines, in the sense that if the product is dense, you should use a pressure canner.
Use your own discretion and comfort level in deciding if this is right for you and your family. No one else (myself, Ken, the blog, whatever) is responsible for your choices.
For my purposes I choose to use a pressure canner for all dairy.
[ Read: All American Pressure Canner That Will Last Forever… ]
Milk:
Bring the pressure canner up to pressure for your elevation. Immediately turn it off and let it cool naturally. Milk is now sterile and bottled. This is the equivalent of the boxed shelf-stable milk found in grocery stores. I made a mistake the last time and let the cooker heat up too slowly. I also had cheese sauce in the same batch, which required 10 minutes processing, so the milk carmelized and turned brown. It still tastes fine, just a little sweeter and less creamy than I’m used to. More like powdered milk.
Cream:
Same as milk. Yes, it whips up fine after being processed.
Half-n-half:
Same as milk
Non-dairy creamers:
Same as milk. I have never processed this, so I go by the word of others who say it works.
Almond milk:
Same as milk. I have never processed this, so I go by the word of others who say it works.
Cottage cheese:
Same as milk. I have never processed this, so I go by the word of others who say it works.
Sour Cream:
Same as milk. Unfortunately, when I tried the sour cream in 2015, I was unable to find any information on canning dairy (other than “don’t do it”) so I canned it for meat times, 75 minutes for pints. It stank. I threw it out. Those who have done it (I haven’t tried it since) say canning it as milk will create a lumpy product that just needs to be stirred and/or whisked to become sour cream again.
Cream cheese:
Since it is a denser product, I do 75 minutes in the pressure canner. It probably does not need 75 minutes, but that is the way I have done it. Others say 20 minutes waterbath or 10 minutes pressure. It came out slightly drier than a traditional cream cheese but I ate it happily.
Cheese:
Same as cream cheese. I have done cheddar and pepper jack. They came out drier than a traditional cheese. Unfortunately they didn’t last long enough to determine if they’re shelf-stable. : )
Butter:
Same as milk. Melt the butter and spoon into jars, leaving 1 inch headspace. Make sure you turn the bottles about every 10 minutes after canning or it will separate. If you do whole butter without pressure or water bath processing, use it within a year or so. If you just take the butter fat off the top it is shelf stable and does not need additional processing. In that case, fill as close to the rim of the bottle as you can get without getting the rim greasy. Put the lid on and turn the bottle over to seal. With no air in the bottle, it will not go rancid as easily.
Ghee:
Ghee is a solid fat (no milk solids or water) and so it does not need to be processed. You can process it, but it’s not necessary. It is shelf stable. Fill as close to the rim of the bottle as you can get without getting the rim dirty. Put the lid on and turn the bottle over to seal. With no air in the bottle, it will not go rancid as easily. The difference between ghee and butterfat is that the ghee is cooked to get the water and milk protein out of it. As with everything else, determine your comfort level. It’s nice to have butter, cream, and milk sitting on the shelf rather than having to run to the store for it. I can grab the after-holiday specials on cream, last minute expiring milk, or the marked down cream cheese, and not fill up my freezer with the bounty.
Pressure Canned Milk
written by Modern Survival Blog contributor, ‘Northern Sarge’
Instructions:
Pre-heat or sterilize quart jars in the oven at 200 degrees (probably not necessary, just what I do)
Warm lids in a pot of hot water to soften the seals
Get pressure canner ready with maybe 2-1/2” of water in it. Bring to barely steamy warm, we don’t want to break cold jars of milk.
Bring all jars out of the oven and place on the counter. Let them cool down for 5 minutes.
Add 2% milk to jars. Fill to leave 1/2” of headspace.
Add lids and rings. Tighten finger tight only.
Place jars of milk into pressure canner. Turn burner element under pressure canner to high.
Place lid on canner leaving vent open.
Vent canner for 8 minutes. Close vent or apply 10 lb jiggle weight.
Bring pressure up to 10 lbs (My elevation is 900 feet) This may take a half hour because of the cold milk.
As soon as you have 10 lbs of pressure, turn heat off and remove pressure canner from hot element.
Allow pressure to decrease to zero by itself then remove jars to an area of the counter to cool.
Kitchen Notes:
I use 2% milk for canning because it goes into the jars white but during the heating process it darkens slightly and may or will produce very small bits of butterfat floating in your canned milk. I used whole milk one time and the mild darkened to a more tan colour and the butterfat bits were slightly larger than with the 2% milk.
Note that I consider this a short term storage item.
Disclaimer:
In the last several generations, for a number of different reasons, the mentality in the US has shifted from “It’s legal unless the government says it’s not,” to “It’s illegal unless the government says you can.”
One example of this, unfortunately, is the emphasis on the USDA rules for canning.
For many years, open kettle canning was the norm. You stick the food in a pot, cook it to death, then cook it again when it comes out of the jars. There were many preservation techniques employed for food in general, but the advent of the sealable glass jar changed this, possibly forever.
Then came the “home” pressure canner, and people grabbed onto the new technology like it was their lifeline. Which in some cases, it was or might have been.
Research was done over an extended period of time, resulting in “approved” canning techniques and recipes which everyone was expected to follow to the letter. At this point, most people believe that if it isn’t approved by the USDA it’s unsafe.
In reality, it just means the USDA hasn’t done the testing. Testing continued through the 60’s and 70’s, but funding ran out for real testing and at this time I believe there is no expectation of additional funding for “tests.” The most recent guidelines were published in the 1980’s, with the exception of a few details that allowed them to update the USDA canning guide in 2015.
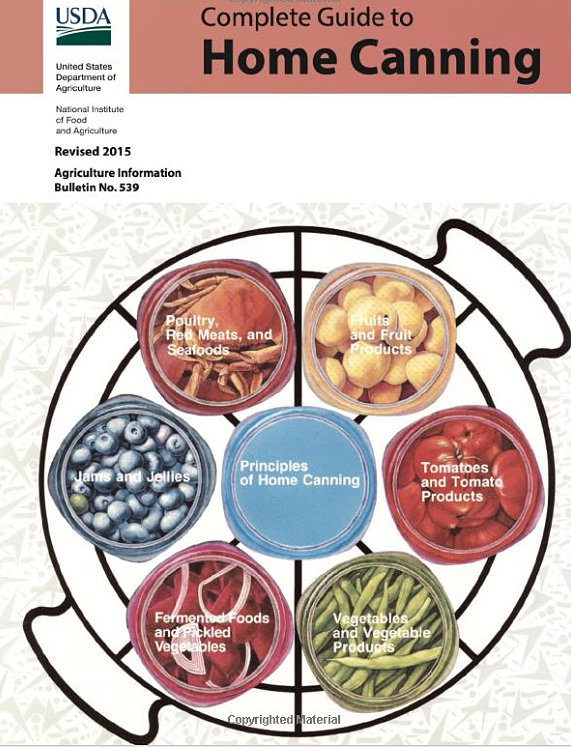
[ Ken adds: I purchased this awhile ago. A good resource…
USDA Home Canning Guide
(amzn)
That being the case, I personally assume that if it hasn’t been proven UNSAFE, then it can be or can be made a safe process. Unfortunately, most people take the attitude that if the USDA hasn’t tested it then it is intrinsically unsafe. Such it is with dairy.
