A Good Compass For Map Reading And Navigation
Looking for a good map reading compass? A good compass (and map) will enable you to navigate without the high tech of GPS.
Map reading and navigation by map in this modern day-and-age of GPS is apparently seldom used by hikers, hunters, campers, etc.. who instead rely on GPS trackers. The problem with that is a GPS tracker relies on the functionality of its ‘high-tech’, and it requires functional batteries and satellite reception. It could become ‘a brick’ during bad weather, with dead batteries, or if it simply ‘breaks’.
The alternative? (and backup method)
A Good Map Reading Compass
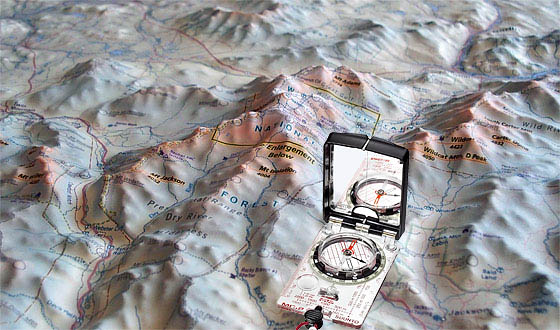
A good compass (and a topo map of the area) will enable navigation in the wilderness.
The job of a good compass is to get your bearings, orient the direction of a map, identify terrain features (e.g. topographical map) relative to your location, triangulate and pinpoint your location, set a course, and more…
Knowing how to navigate with a map and a compass will be an important skill for any such time when GPS may not be available. I always keep a good compass (and appropriate maps) in my vehicle and/or 72-hour kit (also kept in the vehicle) for ‘just in case’.
A compass uses a magnetized floating needle that aligns with the earth’s magnetic field, and they are often filled with a fluid to help steady the needle.
There are LOTS of inexpensive basic compasses (better than nothing!), however it’s very much worth it to buy a more advanced compass which includes more features. These include a declination adjustment (for ‘true’ north), a sighting mirror and/or a magnifier to improve accuracy while map-reading, a ruler, map scales, rotating bezel ring, luminescent indicators, clinometer (vertical angle), and there are even those with a special ‘global’ needle.
There are a wide variety of good compasses.
Silva Ranger Compass
To give you an idea, here is an example of a good map reading compass, The Silva Ranger: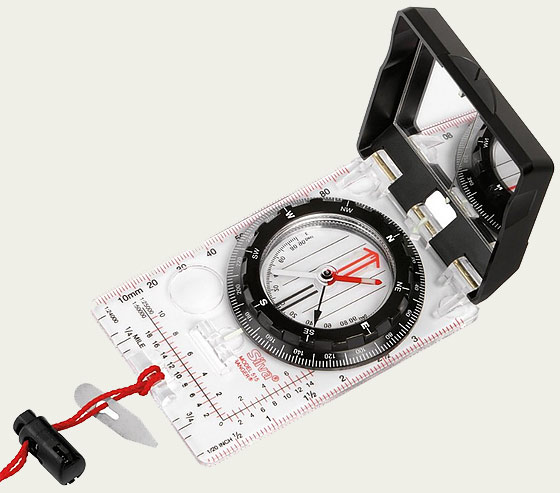
Silva Ranger 2.0 Compass
(view on amzn)
Suunto Compass
Another good compass is this Suunto Compass: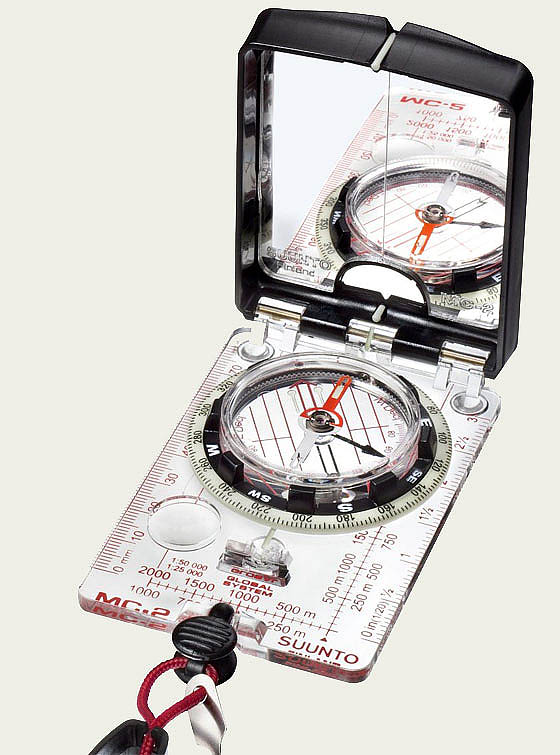
Suunto Compass
(view on amzn)
The following instructions are excerpted from REI.com. Useful basic explanations on how to use a compass for map reading and navigation:
Transferring Compass Bearings (Map to Compass)
1. Identify your position and your objective on the map. Connecting those two points creates a line on the map (which you can either visualize or physically draw on the map).
2. Align the edge of your compass with that line.
3. Rotate the bezel so its orienting lines run parallel with the map’s orienting lines (which point to true north). This means the actual bearing have been captured at the front of the compass.
4. Take the compass and turn your body until the magnetic needle lines up with the orienting arrow on the compass. At point, you will be facing the direction that will lead to your chosen objective.
You can rearrange the process and use a compass to take a bearing off a real-world object (one that is known to be on your map) and transfer that information to the map to identify your location even if you are uncertain of your whereabouts in the field. A companion video illustrates these steps:
Transferring Compass Bearings (Compass to Map)
1. Hold the compass level and aim the front of it at an object.
2. Rotate the bezel until the magnetic needle is aligned with the orienting arrow of the compass.
3. Locate the object on the map and place the edge of the compass on that object.
4. With the edge still tight against the object, and without touching the dial, turn the entire compass until the orienting lines within the bezel line up with the orienting lines on the map.
5. The edge of the compass forms a line on the map, and you now know you are somewhere along that line.
Triangulation
Triangulation is a technique that involves a map, a compass and 2 separate landmarks. It can pinpoint your position on your map even if you have no idea where you are.
1. Pick 2 distant landmarks that you can easily identify on your map. They should be at least 60° apart.
2. Take a bearing off of each object.
3. Transfer those bearing to your map.
4. Each bearing will form a line. Where the lines cross marks your location.
Magnetic Declination
The magnetized needle of a compass points toward magnetic north (abbreviated MN), but topo maps are oriented toward true north (or polar north, sometimes represented by a star symbol). Depending where you are located, the difference could be substantial —10°, 15°, 20° or more. This difference is called declination.
1. Find your map’s magnetic declination diagram, usually in the margin’s lower-right corner.
2. Our goal is to align the compass with true north, using the needle which points to magnetic north.
3. The magnetized needle must then be adjusted to the degree indicated by your map’s magnetic declination diagram. Use the index (degree) lines on the edge of the bezel.
4. The compass must then be adjusted to account for the declination. Find the declination degree on your compass bezel. You may wish to mark this point with tape or a marker. If you have an adjustable compass, you can move the orienting arrow here.
5. As you navigate, ensure that your needle is not pointed at true north, but to magnetic north, the declination degree.
