Broccoli Sprouts – How I Grow Them And Why…
How to grow your own broccoli sprouts. It’s really easy. I started about 2 months ago. Here’s why and how…
Since we began growing broccoli sprouts, Mrs. J and I have been eating them twice a day. Once with our morning meal (side dish of broccoli sprouts over an avocado), and later with our evening salad side dish. Some people make smoothies with them too.
Why Broccoli Sprouts Are So Good For You
I’ve known this for a long time. That is, broccoli is good for you. What I did not know was how much better broccoli sprouts are – while comparing apparent health benefit (potency?) over ordinary broccoli florets (which themselves are great).
If you’re interested to discover the technical health benefits of consuming broccoli sprouts, please research this. There’s LOTS of good information out there, and it’s not my intent to re-hash that here.
This is presented as opinion and information which I have gathered from my own due diligence. It is not replace advice from your doctor or healthcare provider.
I will attempt to summarize the apparent benefits. Broccoli sprouts are good for your health due to their high concentrations of glucoraphanin and sulforaphane, both of which have antioxidant effects that may help prevent cancer and other problems.
Numerous published studies have identified sulforaphane as one of the most potent food-derived molecules of our era. Some truly remarkable health benefits can be accessed through its main source, broccoli sprouts.
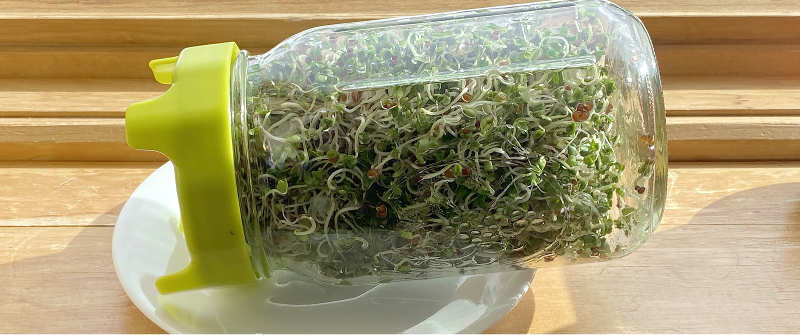
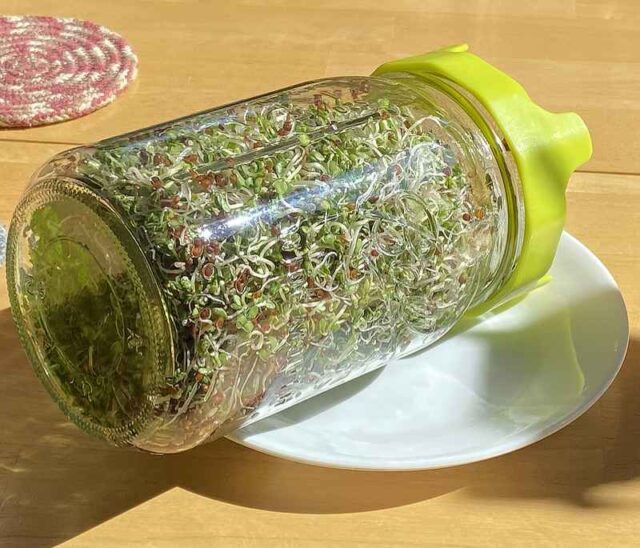
Jar of sprouts on the final day – soaking up a few hours of sun…
How I Grow Broccoli Sprouts
I grow them in canning jars. Quart size. I use special screen lids for air and drainage. It only takes 4 – 5 days until they’re ready to eat. We keep 4 jars in rotation all the time so there’s always fresh sprouts to be had.
Where to get broccoli sprouting seeds
Online. I researched first. Then chose one of the better reviewed suppliers. Seems my choice has worked out well.
About 30 jars of sprouts from 1.5 Tablespoons of sprouting seeds per jar. Or, about 23 jars of sprouts from 2 Tablespoons of seeds per jar. Seeds weighing about 10 grams per Tablespoon.
Although 2 Tablespoons will sprout into a really full quart jar, 1.5 Tablespoons of broccoli seeds seems just about right.
NON GMO broccoli sprouting seeds GROWN IN USA
(from Farm to Table via amzn)
Growing Broccoli Sprouts (Initial Soak & Sprout Activation)
Add 1.5 Tablespoons to a quart-size canning jar. Add enough water to at least cover the seeds. Let soak. This will help activate the seeds for sprouting. How long to soak? Not sure how critical that really is. But I’ve done anywhere from 6 hours, to overnight. Most recommendations seem to be within that range.
Next, screw on the screened lid. There are a few kinds of lids for this. I chose those which you can see in the photos below. They’ve worked well.
Wide Mouth Lids with Stainless Steel Screen
(amzn)
After initial soak, drain the seeds. Here’s my technique…
Drain first (with screen lid on, of course). Then hold jar upright. Give the edge of the lid a good tap/rap a few times with your palm. This will drop most seeds off of the screened lid (helps keep them from growing on the screen).
Then, hold jar kind of sideways and rotate around (shake it a bit while doing this for dispersion). Rather than a clump of seeds on the bottom, this technique will cause many of the seeds to stick to the sides as shown below. I believe this helps especially during Day 1 and 2 germination.
Don’t put them in direct sunlight during germination. It’ll get too hot in that jar, and it may dry out quicker too. I will sometimes put a jar closer to the light during the last day to really get the sprouts greened up nicely (though they green up pretty nice regardless). Window sill on a cloudy day is perfect (no worries about excessive heat build up).
Rinse Twice A Day During The Entire Process
Important. Remove the lid and fill with water, enough to cover all the sprouts. Put lid back on, and dump it out. Rinse them in the morning, and then during the evening. Keeps seeds good and moist, and, rinsed clean every time. I use my Berkey filtered water for all of this.
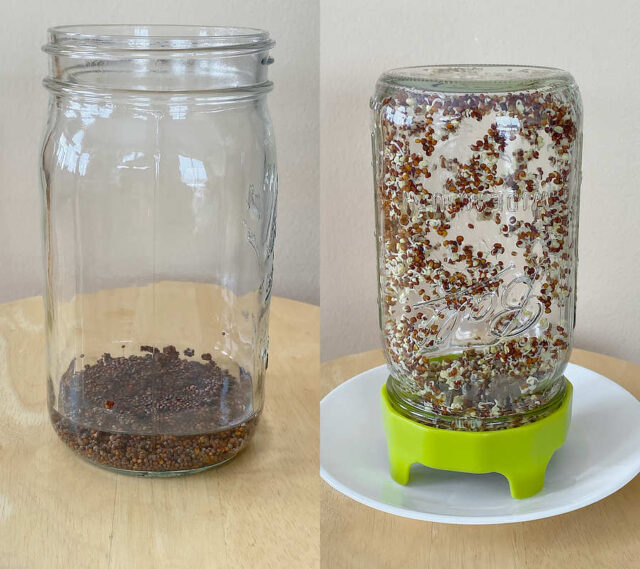
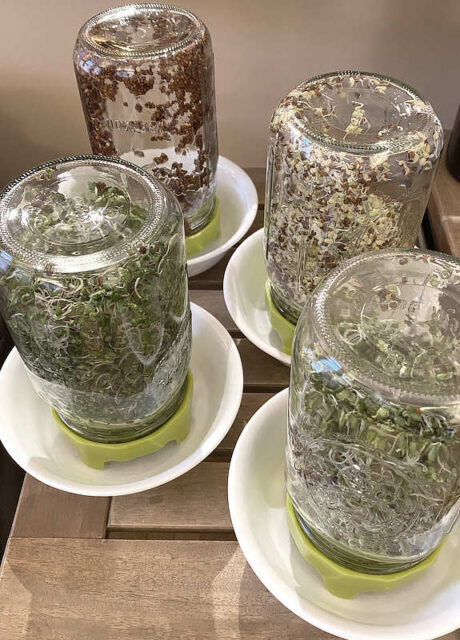
Here’s a picture (below) of my broccoli sprouts which I believe were somewhere around Day 2 (left) and Day 4 (right).
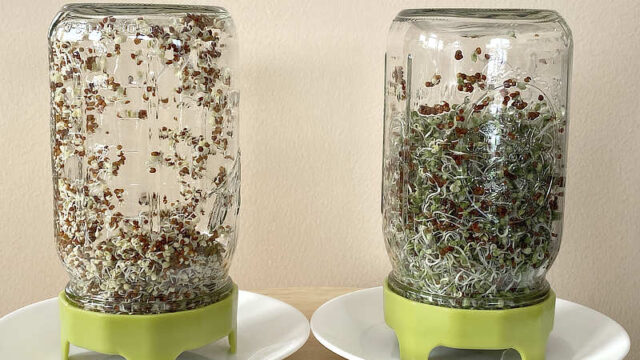
Here’s my sprouting station with four quart-size canning jars in progress.
Removing / Separating Hulls From Broccoli Sprouts
Okay, so now they’re done. It has been about five days and now they’re ready. Well, almost. It would be nice to remove or de-hull the hulls from the sprouts. Although you’ll never get them all, it’s okay. It’s not going to hurt-ya or affect the taste.
Here’s the best way I’ve been able to do this…
Fill a wide bowl with enough water (more is better) to really float the broccoli sprouts. Swoosh them around a good bit, to separate lots of the hulls. Many will tend to float while others may sink to the bottom.
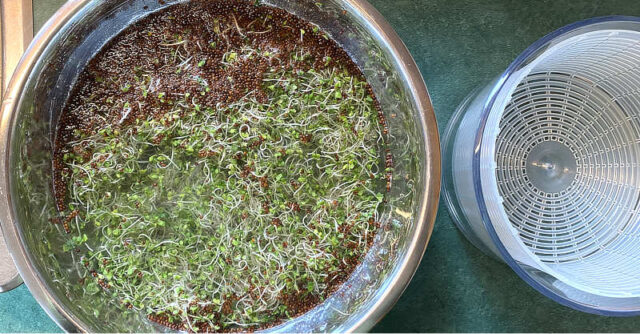
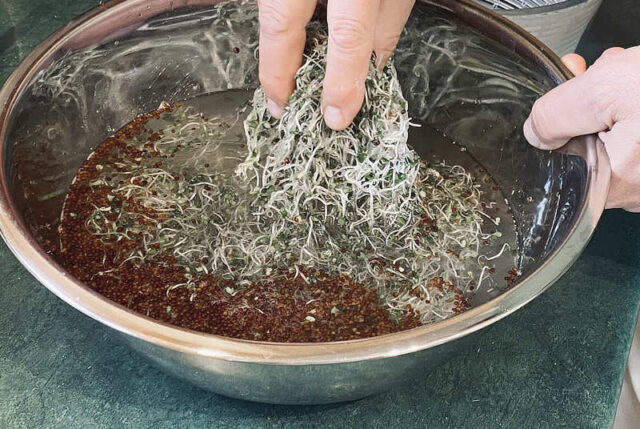
Using your fingers, you can mostly persuade the broccoli sprout hulls to go over to one side of the bowl. It’s a ‘trick’ you’ll get the hang of, after awhile.
Then I pull out the sprouts and place them right into the salad spinner. Note that you will not get all of them free-and-clear of the hulls floating around. But I just leave those behind.
After removing them as best I can, I strain what’s left for the trash using a wire mesh strainer since I don’t want all the hulls accumulating in my septic tank.
Dry the sprouts using a Salad Spinner
A staple of every kitchen. The salad spinner! It’s important to get as much residual moisture off the sprouts as you can. This is the easy way. We have the following salad spinner…
OXO Good Grips
(amzn)
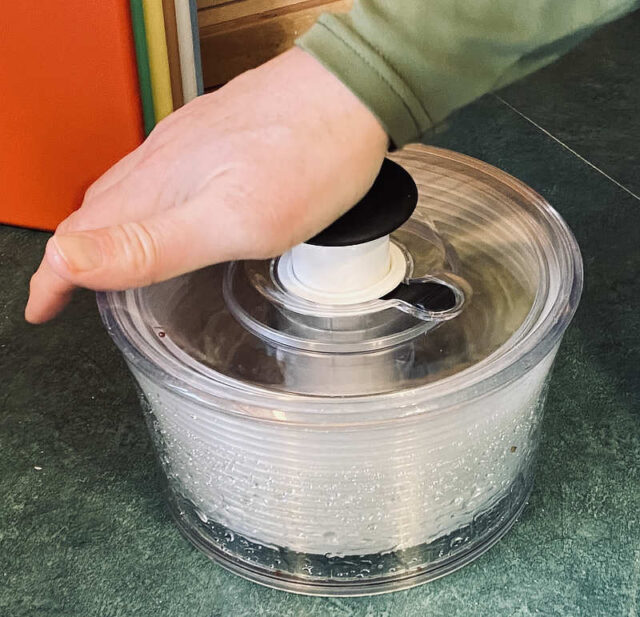
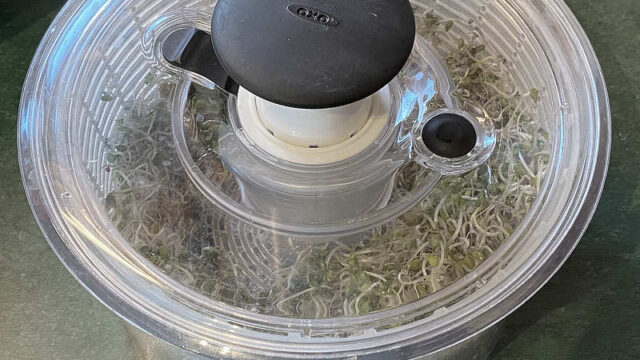
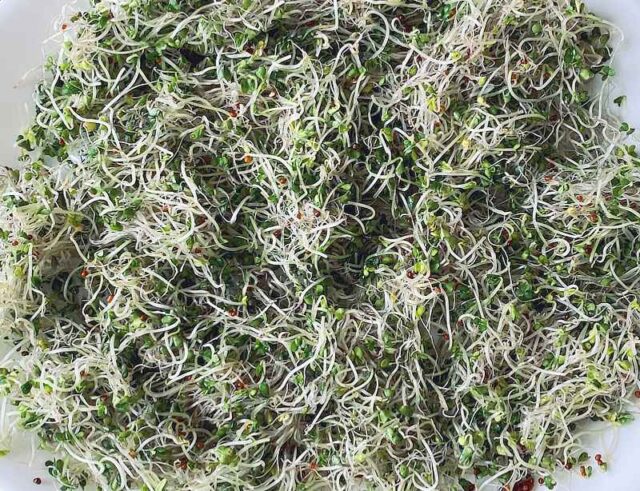
Afterwards, dump the sprouts onto a plate and spread them out a bit. I like to leave them out to dry further. Half a day is fine. Then I put them in the refrigerator.
Like I mentioned earlier, we always have jars in process and there’s always some broccoli sprouts in the fridge to eat from.
[ Read: I Grow Broccoli For Its Antioxidant Health Benefits ]

