Chicken Coop Insulation | How I Am Insulating And What I’m Using
As you continue to follow along, I had decided that I needed chicken coop insulation. Why? Because it gets wicked cold up here during the winter.
It is not uncommon for temperatures to drop below zero (F) during many nights (and days!). And it’s also nearly certain that we’ll see occasional temperatures as low as 20 or 30 below zero during some nights and days throughout the winter months.
Although my birds are cold tolerant, I decided to make their lives a little more comfy for the winter months. Here’s how I chose to insulate the coop.
I insulated the floor, ceiling, the walls, and the door.
I essentially made a insulation sandwich for each section.
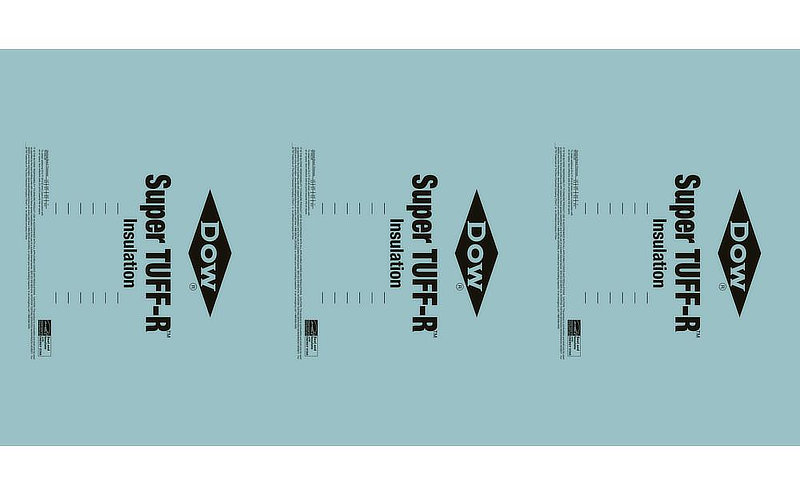
Sheathing – Foam Board Insulation – Sheathing
What type of insulation for chicken coop?
Foam board. So it won’t get wet, soggy (like fiberglass insulation) because it will be in an outside environment.
I used a type with foil on one side – which faces OUT. This helps reflect the outside temperatures.
UPDATE ON THE FOIL DIRECTION: As it turns out, apparently the slight benefit of the foil is negated if it’s “sandwiched” right up to the sheathing (no air-tight air gap). So in this case, the direction is a moot point. Oh well. We still get most of the R-value benefit of the insulation itself.
I happened to choose DOW Super TUFF-R (1″) available at HD.
R-value 6.5
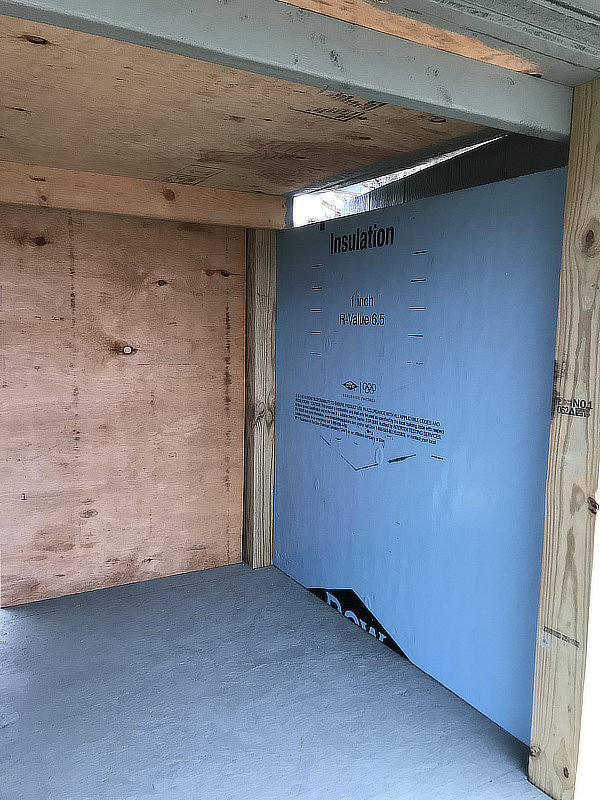
Here’s a photo of one wall. Actually the other walls are already done in this picture. The right side wall as shown reveals the 1-inch foam board with a R-value of 6.5. Combine that with two layers of 1/2-inch sheathing plywood (.6 x 2) and we’re looking at a total of almost R-8. Hey, it’s better than nothing!
The gap at the top is one of two vents (left & right side walls). I will be working on those later (adding adjustable closure for each – for weather conditions).
To hold the insulation sandwich together I used 2-inch screws – right through the sammich.
Easy to cut and install
The foam board is easy to cut. I simply marked the cuts for each piece with a sharpie and straight edge, then cut with a knife. I started with a long blade razor knife, but I found it easier with a heavier stiff sharp knife. The foam board was set on (and clamped to) saw-horses for convenience during marking and cutting.
I will be adding a chicken coop heater too. I already bought it and will do a separate post on that when it’s time.
Anyway, I just wanted to show my methodology for insulating my chicken coop for the winter (will help keep it cooler during the hot summer too).
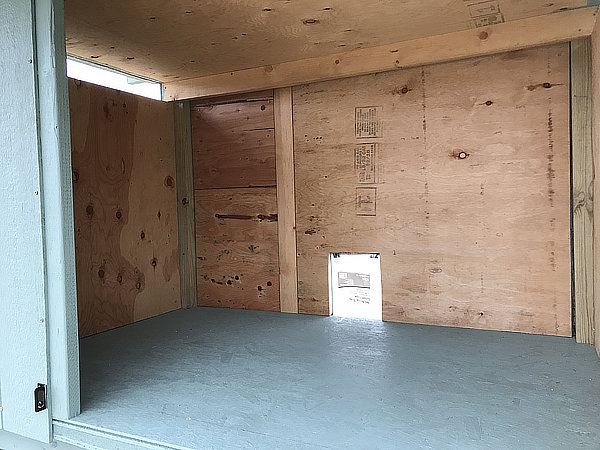
If you look at the bottom left, you can kinda see the sandwich layers exposed where the door closes (its’ painted). For the floor and ceiling of the chicken coop I used a combination of 1/2″ sheathing, 1″ foam board insulation, and 3/4″ AdvanTech sheathing (stiffer and more stable, waterproof).
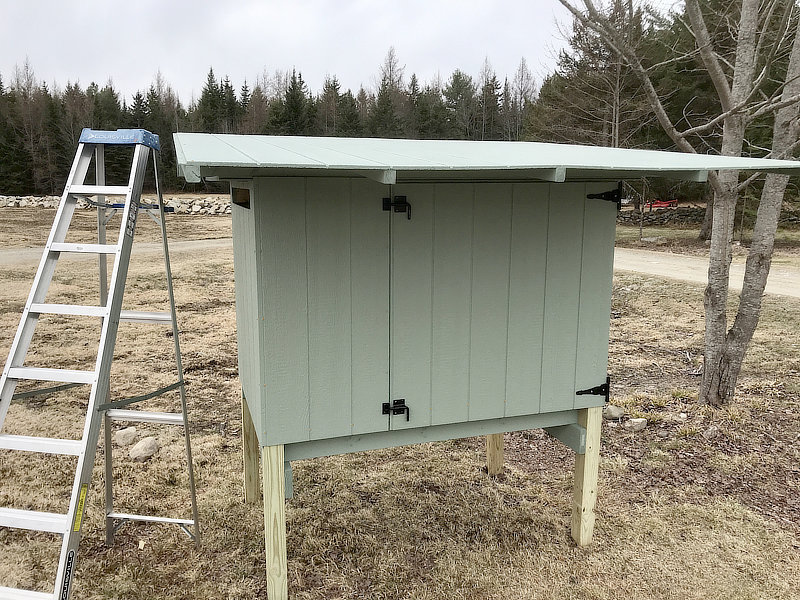
Still a work in progress. Actually it is further along than this, but I’ll save that for another post…
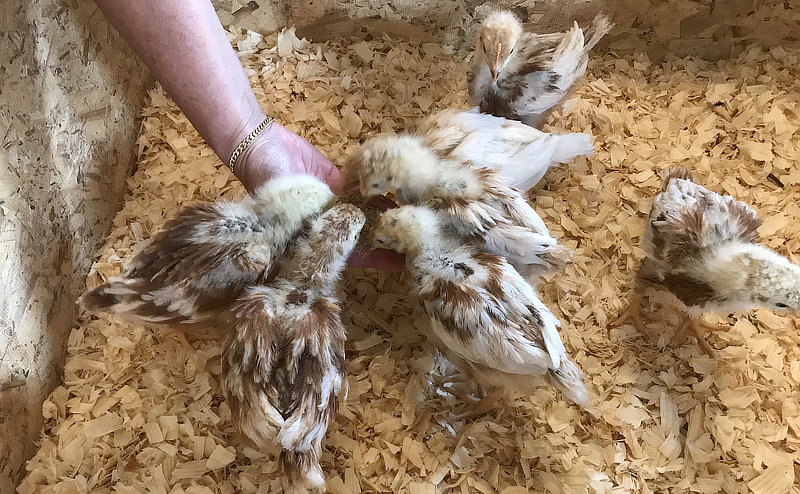
Pullets eating out of Mrs.J’s hands.
We’ve discovered the ISA-Brown’s are very curious and they seemingly enjoy the attention from humans.
[ Read: Chickens Flying Out of the Brooder ]
[ Read: My Chicks ]