Cooking Rice In A Thermos To Save 80 Percent Fuel!
Did you know you can cook rice in a thermos? Thermos cooking can potentially save up to 80% of fuel that you might have otherwise used.
Here’s how-to do it, and a recommendation for a good thermos to do it.
Rice is one of those ‘staple foods’ in nearly everyone’s kitchen pantry.
Many preparedness-minded people with a food storage pantry will have (among other things) a quantity of dry foods including rice. An issue with cooking rice though, is that it requires a substantial amount of fuel (heat) energy to cook (boil-simmer) to soften the grains such that you can actually eat it.
If you’re in a situation where you’re trying to conserve your fuel, then the thermos cooking method (such as with rice) will save LOTS of fuel by eliminating the relatively long time needed on a stove burner, etc..
The good news is that I’ve found a way to cook rice with just a fraction of the fuel energy needed compared to conventional cooking methods of boiling and simmering…
Cooking Rice In A Thermos | How-to
I recently tried this, and it worked very well.
1. Heat a quantity of water to boiling.
2. Add the boiling water to a high quality insulated thermos.
3. Add rice.
4. Close thermos and wait several hours.
The only fuel energy consumed is that which is required to get your small pot of water to boil. That’s it. Then shut off the heat!
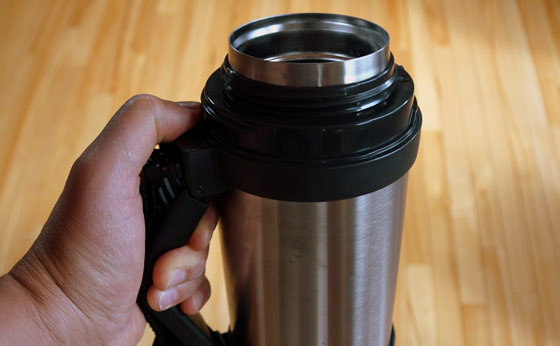
The thermos I chose to use will hold 6 cups of water. When I first tried the experiment, I only added 1 cup of boiling water to 1/4-cup of rice. I discovered that there was not enough heat energy in the one cup of water to do the job (the rice was partially cooked after many hours, however still too crunchy).
Next, I nearly filled the thermos with boiling water and added a fresh 1/4-cup of rice. After 5 hours passed (I had forgotten about it), I checked and discovered the rice was very well cooked (too much in fact)!
While I have yet to determine the perfect formula (which will vary depending on how much rice you’re trying to cook), the proof of concept is intact. It works!
(Updates below)
Note: You will need to plan ahead (many hours ahead) with your rice.
Double Walled Vacuum Insulated Thermos
For this method to work successfully, it is VERY important that you use a well designed thermos with a double-walled vacuum seal – which will hold the heat for a longer period of time. A cheap plastic thermos will not work, or one that is not under a vacuum.
After researching a bit, I chose a thermos for cooking. It has a fairly wide mouth (easier for food) and will hold enough boiling water (48-ounces) to provide a reservoir of long lasting heat. The thermos (insulation) design has stainless steel walls separated by airless space (under a vacuum).
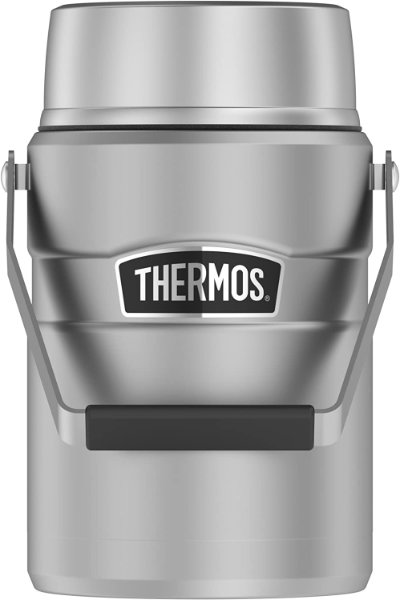
Since that purchase there is now an even better Thermos (in my opinion). It has a wider mouth for easier access. If I were to do it over again, I would get this one:
From the manufacturer, “As with all Thermos vessels, this container uses vacuum insulation technology for maximum temperature retention that is ideal for soups and other hot foods.”
Stainless King 47 Ounce Vacuum Insulated Food Jar
(view on amzn)
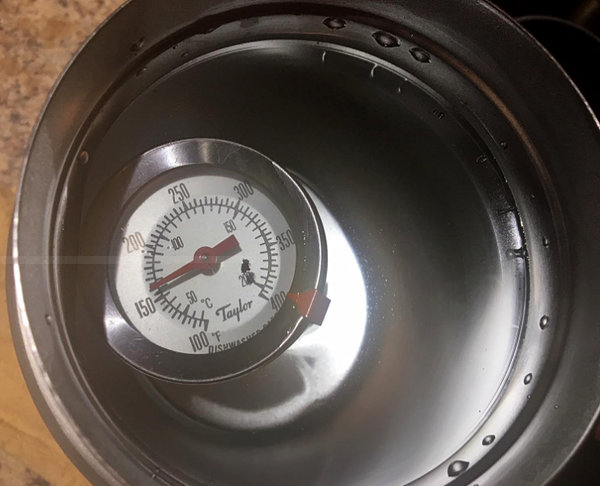
“I conducted a simple performance test myself by priming the unit with boiling water, refilling 5 minutes later (boiling water) at 212F, then storing overnight in a 38F refrigerator. At the end of 10 hours, the water was still quite hot, measuring 155F with a calibrated thermometer!”
said ‘robert’ while reviewing this particular Thermos
Also, the following is an alternative thermal cooker. It’s larger, if that’s what you’re looking for:
1.5L Capacity
(amzn)
All it takes to cook my rice now is a few minutes of fuel to get my water boiling – and that’s it…
As I try more quantities of rice and check the process for time required, I will come back to this post and update with results (e.g. how much for 1 cup of rice until cooked well enough, etc.)
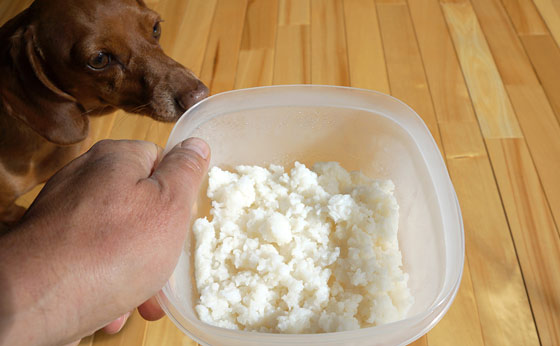
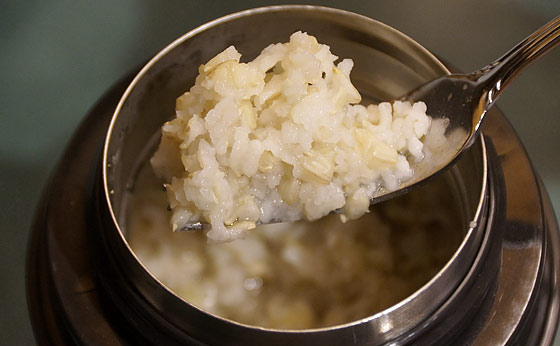
The thermos cooked rice must have smelled so good that my mini Dachshund came out of nowhere and almost got it while I was holding the bowl of rice for the picture (above)…
UPDATE: It had been awhile since I used this method to cook rice, but just did it again…
I first filled the thermos with water (to know exactly how much I needed to boil). I then dumped the water into a pot to boil.
Next I then added one cup of (brown rice this time) into the thermos.
After the water came to a boil (about 5 minutes) I dumped it into the thermos over the rice. The thermos took ‘almost’ all the water.
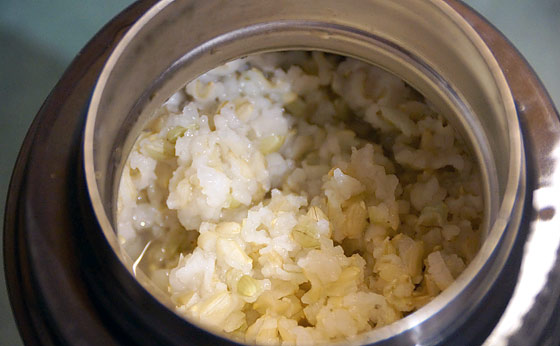
After securing the lid and 8 hours later (I prepared the rice at 10:30AM and had dinner at 6:30PM) I was happy to see that the rice had cooked very well and expanded to fill the thermos perfectly.
I dumped out the rice and strained the remaining water.
The rice was mushy and next time I will try to remember and do a 6 hour slow-cook.
Here are some pictures:
UPDATE: New article about a bigger thermal cooker, Thermal Slow Cooker by Thermos
[ Read: Rice and Beans – A Survival Combination ]

